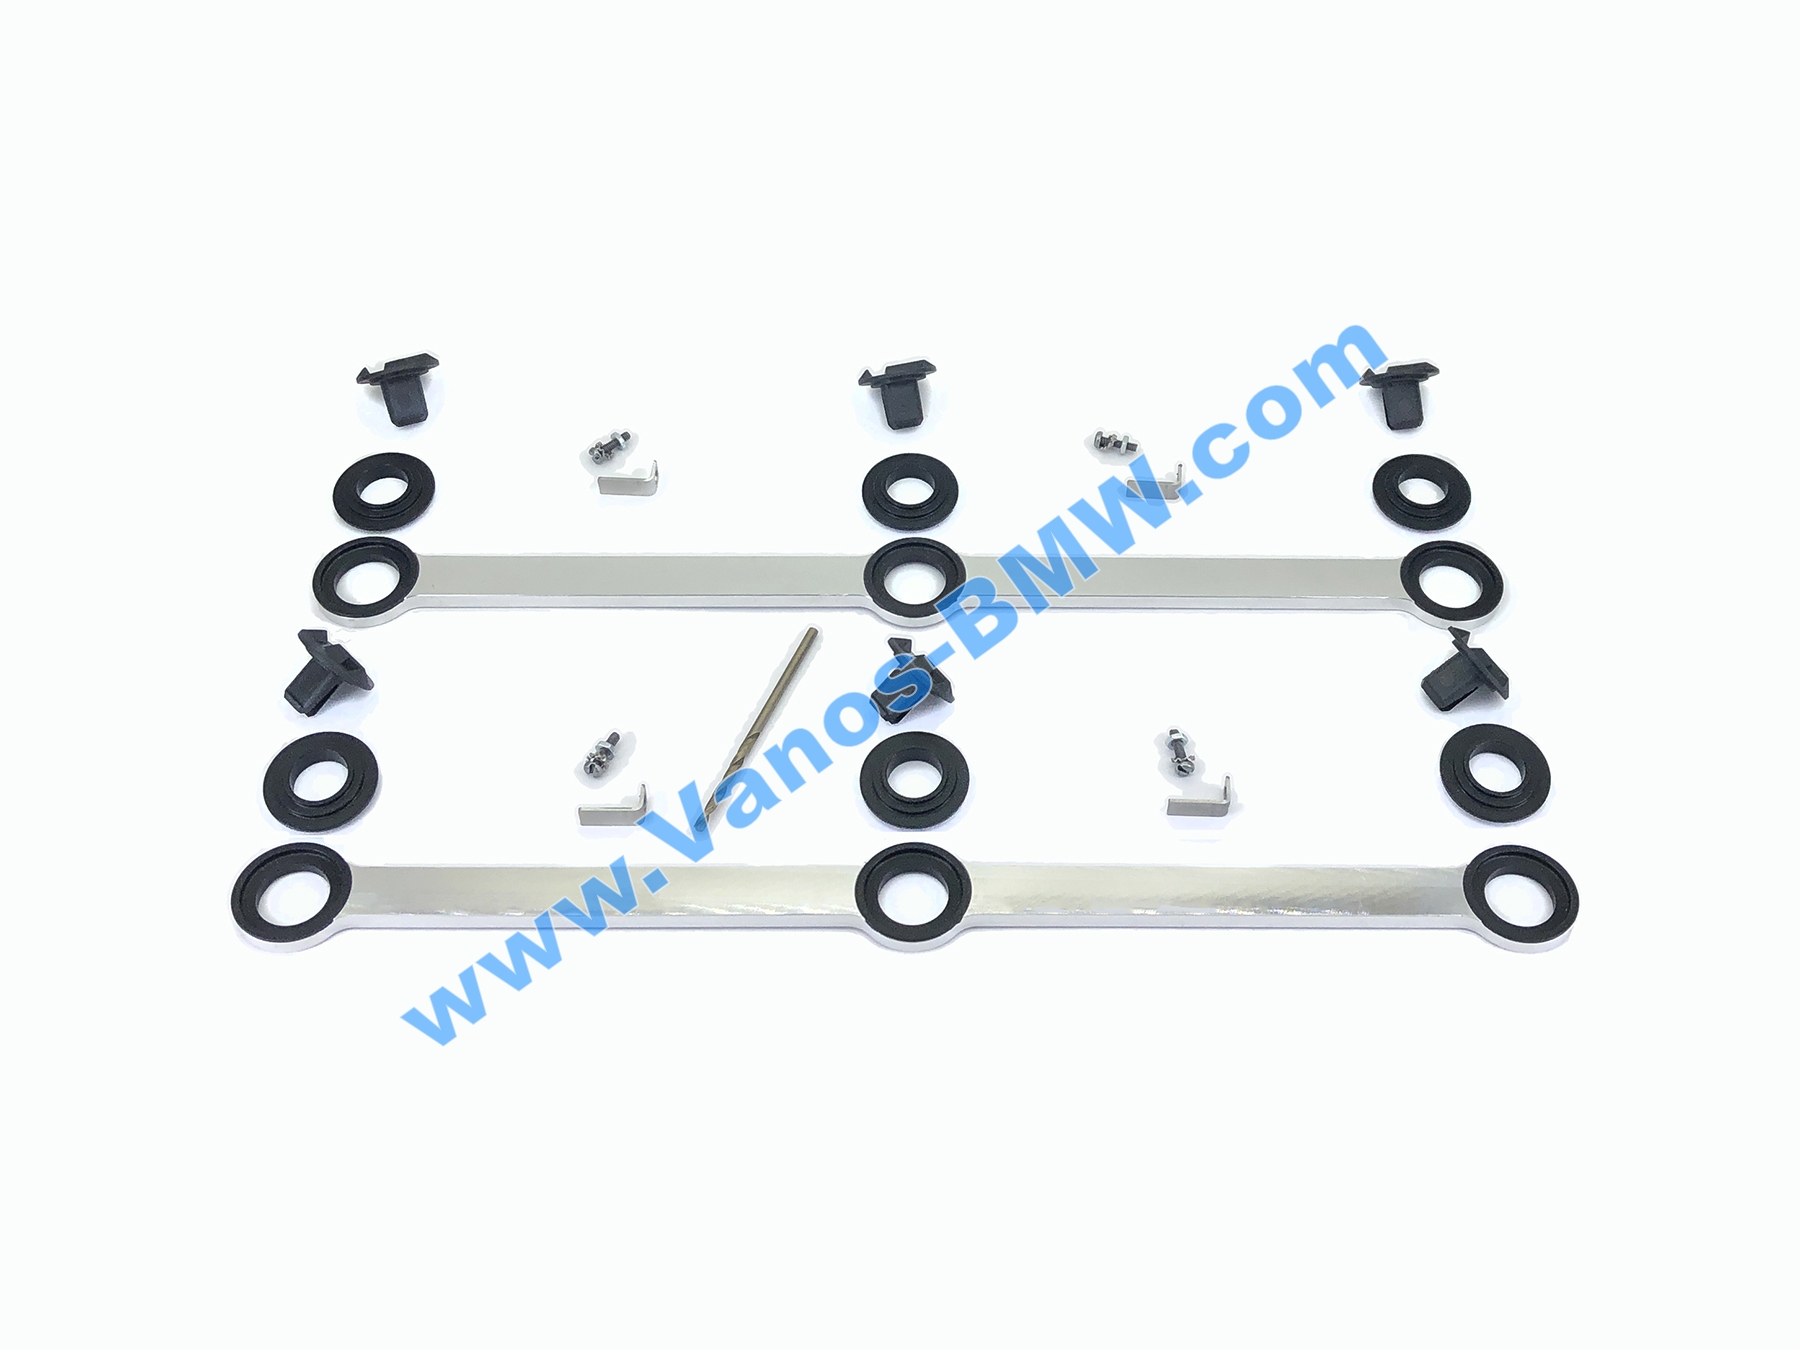
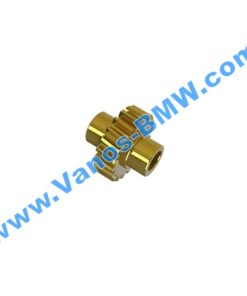
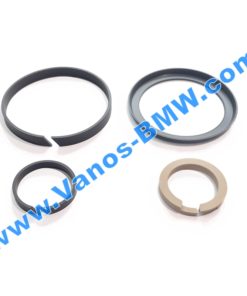
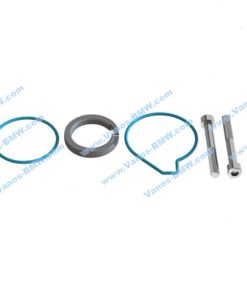
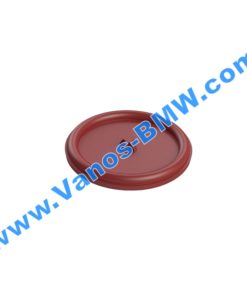
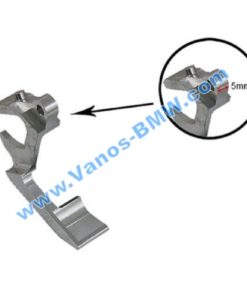
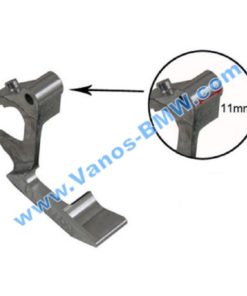
Repair kit for Mercedes OM 642 Intake Manifolds
fit for any OM642 Intake Manifolds
Precision quality. This is the development of our company, we guarantee 100% quality.
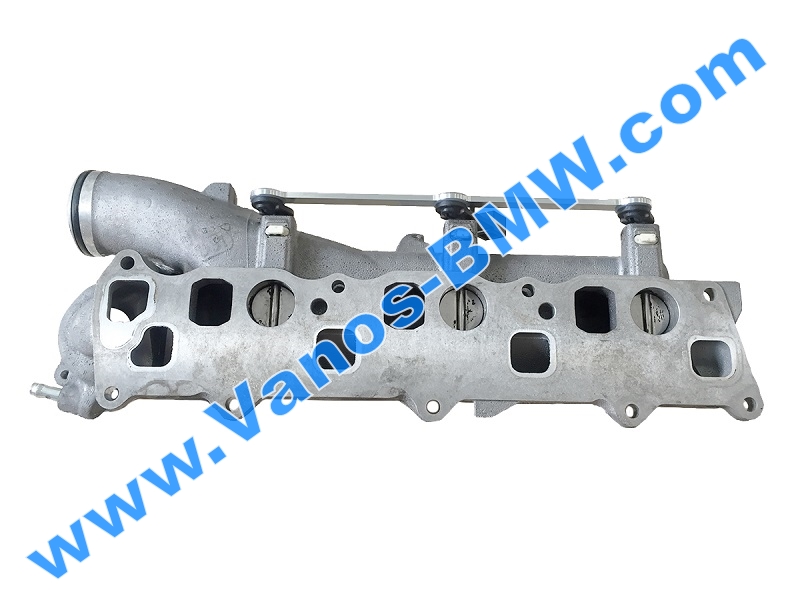
One of the typical faults of diesel engine Mercedes OM 642, is the failure of the actuator of the tumble flaps.
Gradually in the process of work wear out the guide thrust connected with shutters, also wear clip fasteners and seats on the levers of the valves.

The cause of wear is the material from which the eddy-dampers drive system (plastic) is made, over time, the connection points of the thrust and the dampers wear out, which leads to the incorrect operation of the eddy-dampers system.
You can watch the typical wear of vortex dampers rods in the video:
Intake manifold changes only in the Assembly, the cost of one collector ($650-750), and they need two (right and left) total approximately $1500.
We were asked by one of the major auto services Mercedes with the question of the possibility of making repair kits for this unit.
We studied the weaknesses of the Mercedes eddy-dampers drive system, and manufactured a repair kit.
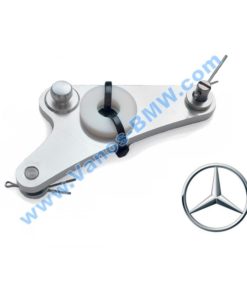
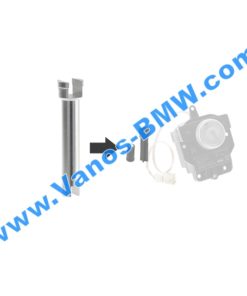
Replacing the worn-out plastic actuator with a new aluminum one completely solves the problem, restores the operation of the vortex flap system, saves time and money.
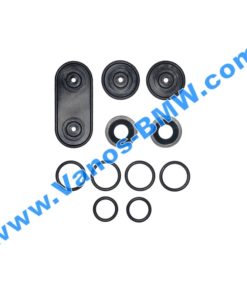
Our repair kit consists of:
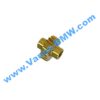
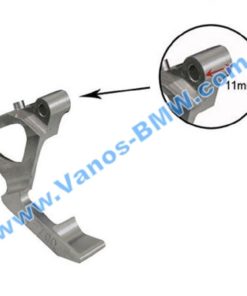
- 2 new aluminium rods (wear-resistant inserts are pressed into the rods);
- 6 wear-resistant inserts;
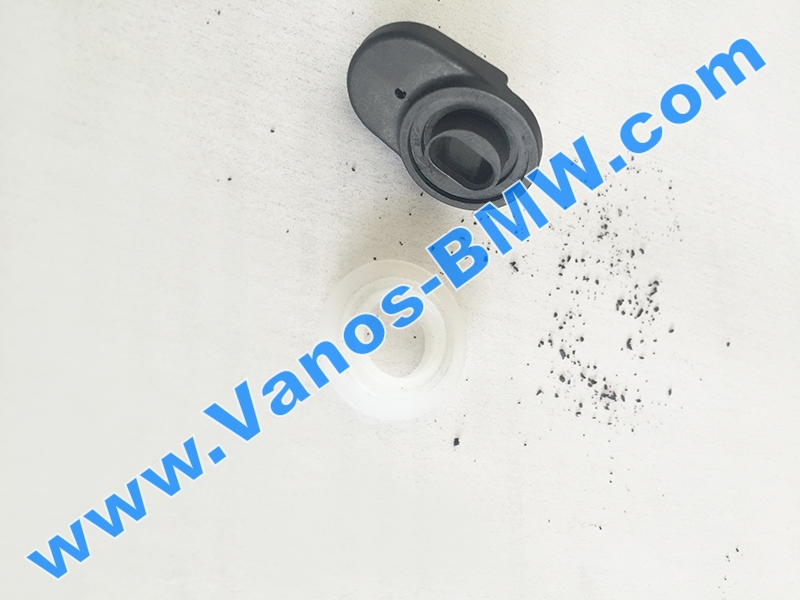
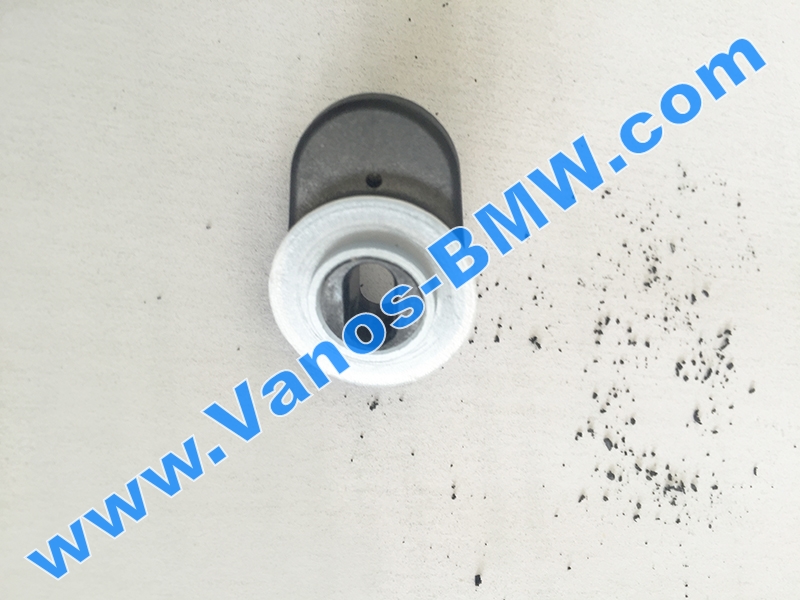
- 6 reducers adapters for actuators of the dampers (through which the transferred load on the unworn areas). Contribute to easy slip. Protect from wear and tear;
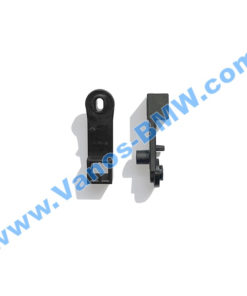
- 6 new fixing clips (original Mercedes – 6 PCs) (be sure to use the new clips they are necessary for the proper operation of the mechanism);
- 4 position sensor information plates;
- 4 position sensor Board mounting bolt set;
- 1 drill bit.
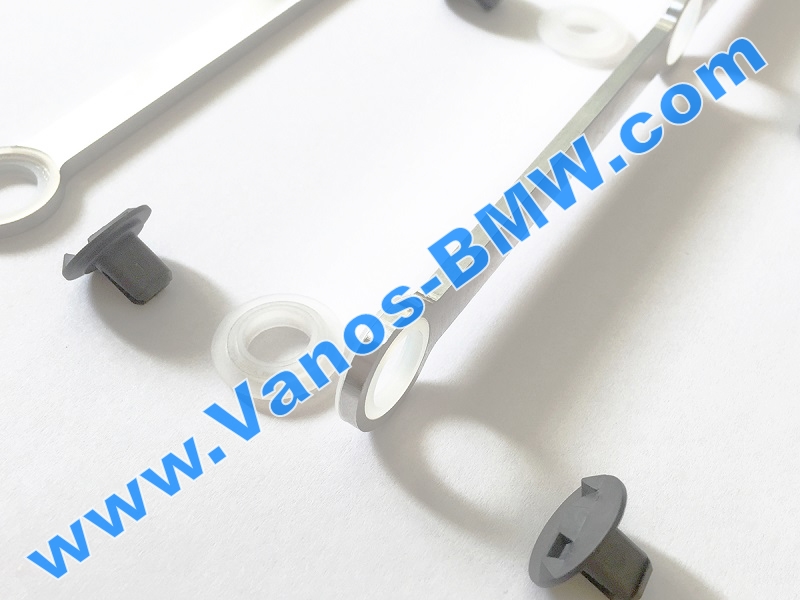
Repair drive tumble flaps Mercedes:
Parts of the repair kit are made with precision, so special attention should be paid to the installation process of the repair kit.
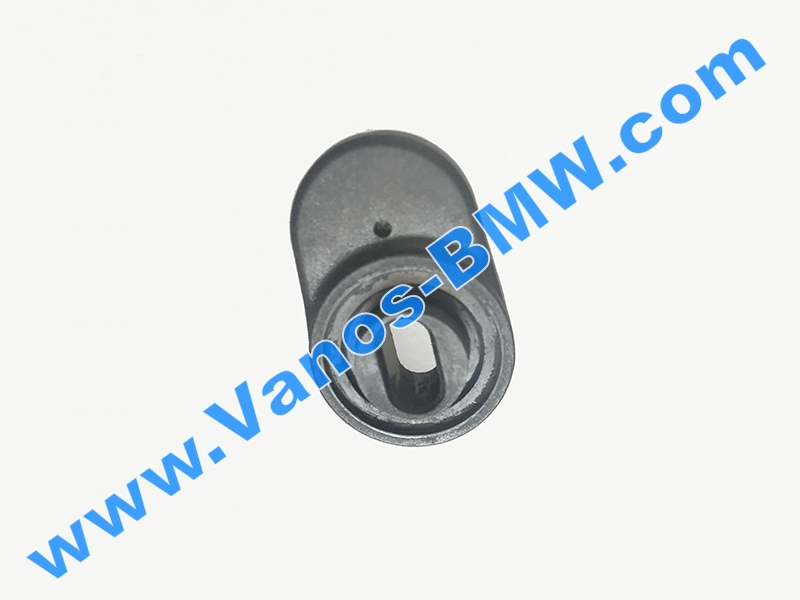
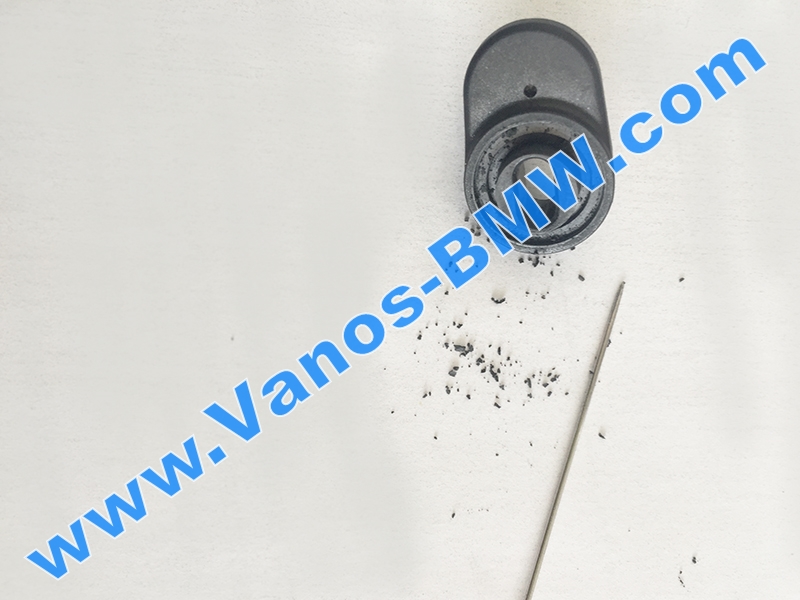
- Seats for reducers-adapters need is to clean (rinse with gasoline, using a needle to fully clean out all the deposits, please see pictures below (for clarity, the lever of the valve is represented separately).
- In the picture you can see the door lever, at first glance, it cleared, but was not quite (see photo illustration).
- after cleaning the grease, the seats on the levers grease lubrication (lubrication need quite a bit).
- install spacers-adapters (grease keeps spacers on the levers without letting them fall).
- install the rod (it is recommended to apply a little grease).
- install NEW clips (included).
Repair is over!

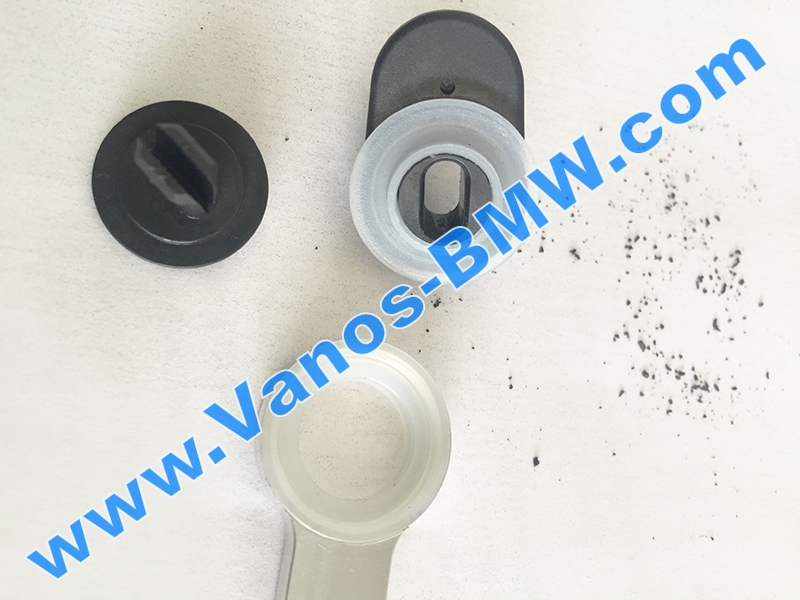
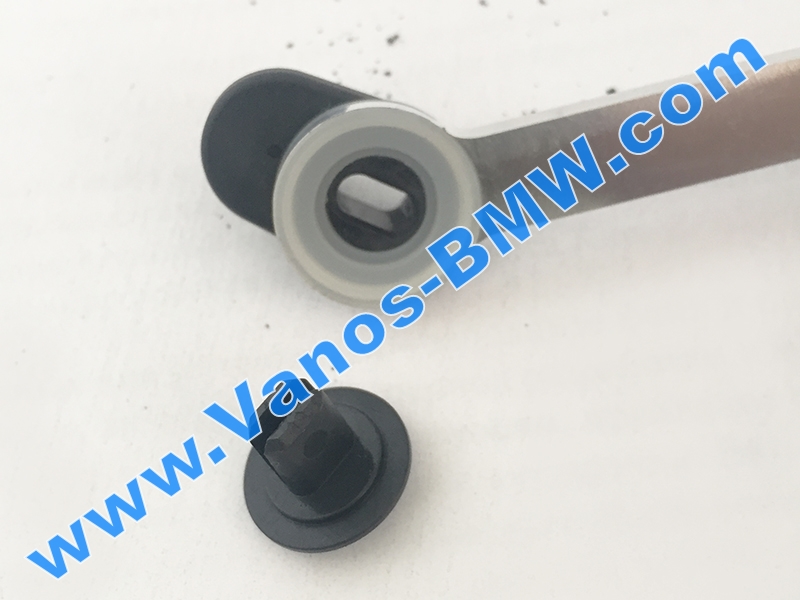
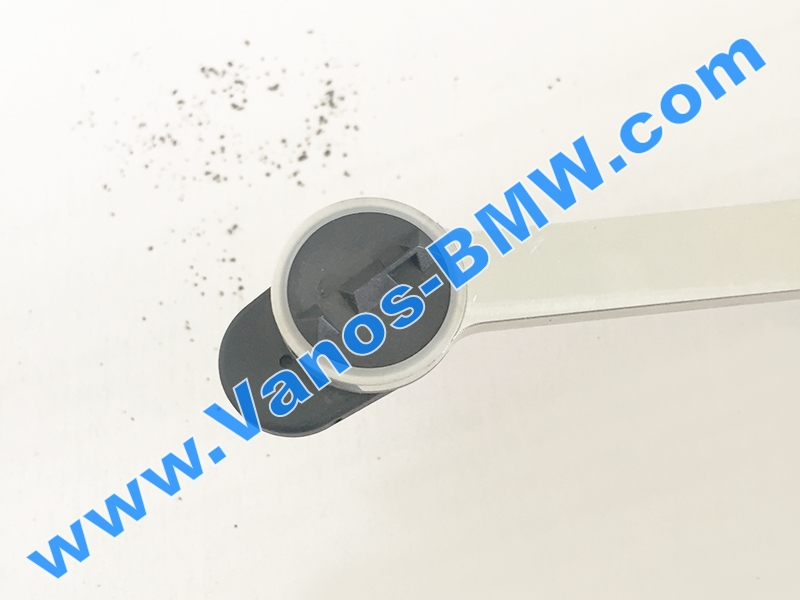
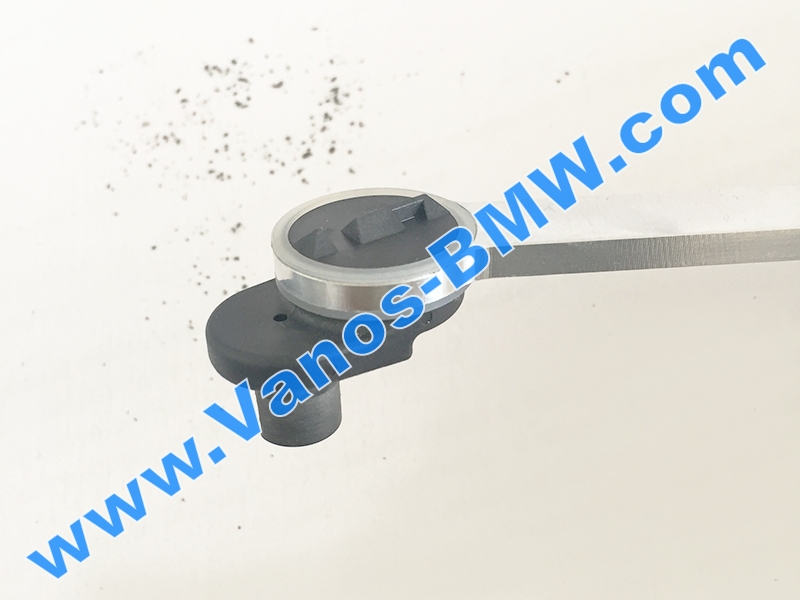
Chinese made = Mexican = other “copies”:

| Weight | 0.2 kg |
|---|---|
| Dimensions | 20 × 2 × 2 cm |


